NO.1
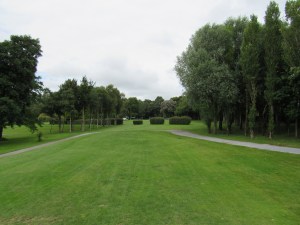
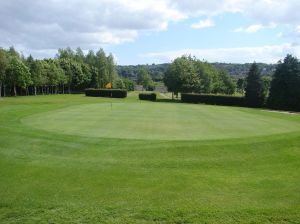
The opening hole is a straightaway par 4. You have tree trouble both left and right of the fairway. The key landing area would be the right side of the fairway which opens up the raised green for your next shot. Be careful to avoid the greenside bunker just right of the bunch of trees located at the brow of the hill.
NO.2
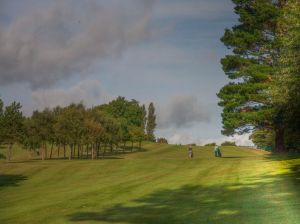
Our second hole is another par 4 which has trouble both left and right of the fairway. finding the left-hand side of the fairway generally gives the ball an extra few yards as it will kick down from the slight slope rolling out to the flat part of the fairway. There are 2 greenside bunkers guarding the green. one located short right and another located left centre of the green.
No.3
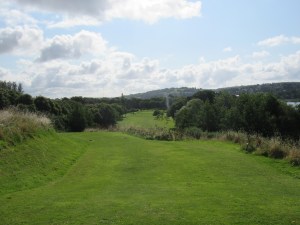
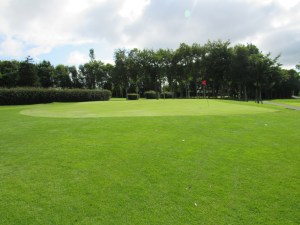
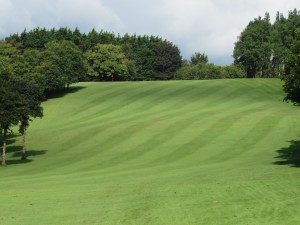
Our third hole is a tricky par 4 if you are not accurate off the tee. It is very important to stay on the right-hand side of the fairway on this hole, as the left portion of the fairway contains a big slope that will kick the ball down into deep rough leaving you with a tough shot forcing you to lay up most of the time. the green is large and mostly flat. there are no bunkers on this hole but the rough surrounding the green can swallow the ball leaving you with a tough up and down.
No.4
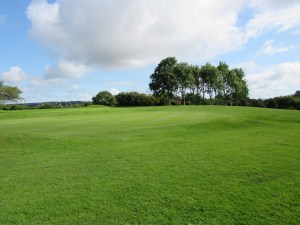
Our 4th hole is a short downhill par 3. This hole is one of our lower-scoring holes on the course offering a view of the Mahon estuary from the tee. The hole contains two bunkers guarding the front of the green with a pond just over the back of the green.
No.5
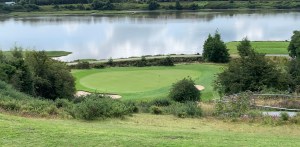
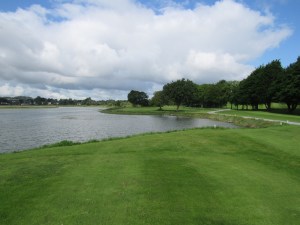
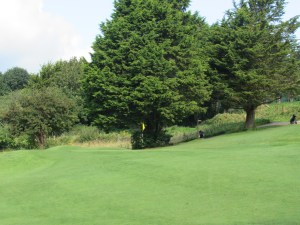
Our 5th hole is the second hardest hole on the course, with the Mahon estuary located on the left side of the fairway and trees right and long, trouble is everywhere on this hole. An accurate tee shot is imperative here to give you a shot into a tough, raised green.
No.6
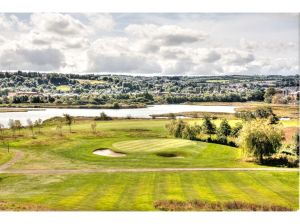
Our 6th hole is another short par 3. This hole offers another challenge similar to the par 3 4th. The green is protected by a pot bunker located at the front and another bunker on the left-hand side. With thick rough surrounding, ending up anywhere other than the green will provide a tricky up and down.
No.7
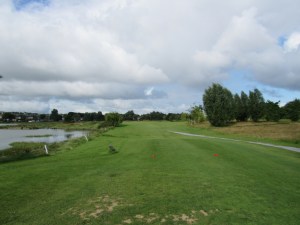
Our 7th hole is the first and only par 5 on the front 9. Accuracy is key from tee to green on this hole. Out-of-bounds and water hazards are prominent. You can go for the green in two with it being a short par 5 but it will be a blind shot into the green. If you attempt to go for it you will be playing over out of bounds which protects the left side of the green. Accuracy over distance is key on this hole.
No.8
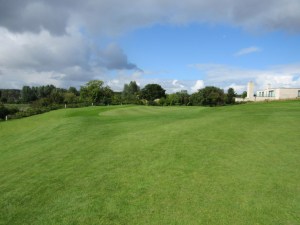
Our par 3 8th is the first of two back-to-back par 3’s. This hole being the shorter of the two provides a challenge in which missing the green will leave you with a very uphill chip to get up and down. There are no bunkers guarding this hole but the long rough and steep slopes surrounding are enough protection.
No.9
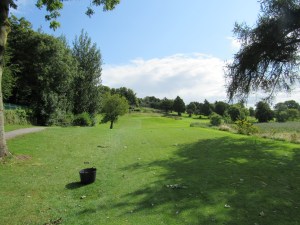
The final hole on our front 9 is the second of two back-to-back par 3’s. Playing uphill with a sloped green, this is a tough hole for many. Missing left will leave you with a very tricky up and down from thick rough. Missing right could leave you with a similar lie or you could end up in the only bunker on the hole strategically placed to punish you for a poor tee shot. It is a severely sloped green with many balls coming up short, leaving you with the potential of putting up the steep slope.
No.10
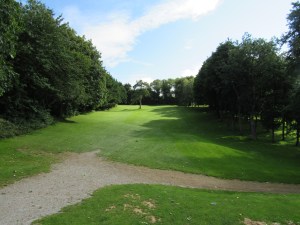
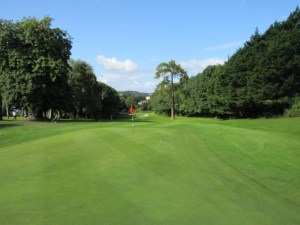
Our 10th hole is a short Par 4. With a new tee box constructed and opened this year, it gives the long hitters a chance of getting right up to the green. With a big slope in the middle of the fairway, it can kick balls down into the flat portion, sometimes into the treeline blocking you out for a shot at the green. the green itself is guarded by 3 bunkers all located at the front side, with a fall-off surrounding the rest of the green.
No.11
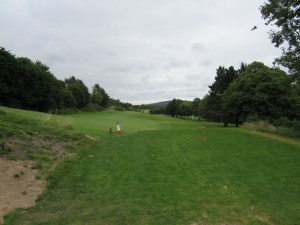
Our par 5 11th is one of the standout holes on the course. The Mahon Estuary plays a role on this hole being in play from your tee shot and covering the entire right side of the hole high scores can come quickly here. it is a par 5 accessible in 2 for most medium to long hitters. But ending up in one of the 3 bunkers guarding the fairway will rule out your GUR quickly. The green is surrounded by thick rough with no bunkers.
No.12
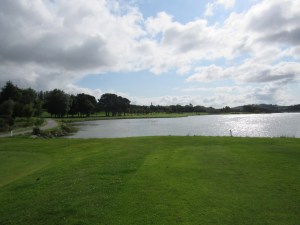
Our 12th hole is a par 4 with tree trouble on both sides. in recent years the fairway has been decreased in recent years to increase the challenge of getting a fairway in regulation. The aim is to keep the ball down the left side as it eliminates the large contingent of trees on the right. Like the 11th it is surrounded by fall-offs with thick rough punishing you for missing the green. A poor tee shot will really punish you on this hole.
No.13
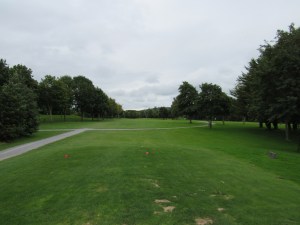
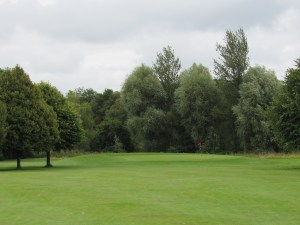
Our 13th hole is a narrow par 4. With a bunker guarding the right-hand side of the fairway and trees cutting off a portion of the fairway on the left, it is imperative to get an accurate tee shot away here. The green has one bunker on the left-hand side and is surrounded by thick rough like most of the holes here. It is one of the toughest holes on the course with accuracy being key here.
No.14
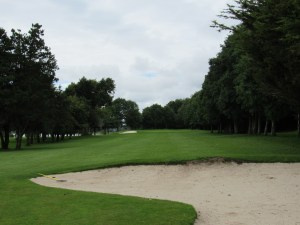
Our 14th is a short par 4 but you will find it very hard to get close to the green. Trees are everywhere here but keeping the tee shot down the left side where the fairway flattens out should be the aim. Out of bounds covers the left side of the green with a bunker guarding the front. A straightforward hole but do not get complacent as it will punish you.
No.15
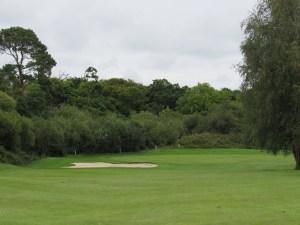
Our 15th hole is a short, but challenging par 4. It’s a risk & reward hole as it is the shortest par 4 on the course. It has 2 fairway bunkers strategically placed to protect the green with 1 more located on the left side of the green. The bailout is down the right side where the 16th fairway is located. Out of bounds is located down the entire left side of the hole and back of the green. Going for the green from the tee can be rewarding but you are flirting with danger on this hole!
No.16
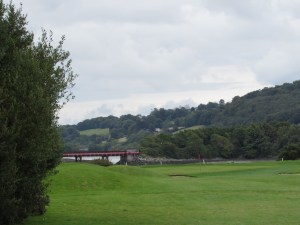
Our par 4 16th hole is the toughest hole on the course. With Mahon estuary covering the left side of the hole and a water hazard located in the middle of the fairway, this hole is full of trouble. Ending up in the rough on this hole will punish you as it makes it unlikely to end up on the green for your next shot. Forcing you to lay up. With 3 bunkers guarding the right-hand side of the green and out of bounds on the left, it provides a serious challenge for all golfers. Accuracy over distance is key here.
No.17
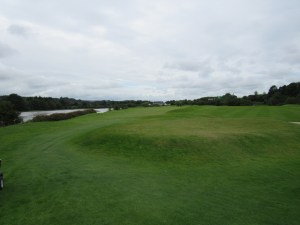
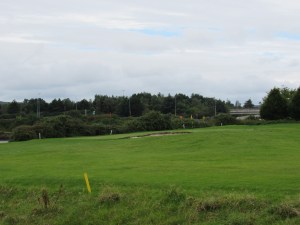
Our penultimate hole is the third and final par 5 on the course. With out-of-bounds on the left from tee to green and tree trouble right, an accurate tee shot aiming for the blue marker is the target on this hole. No bunkers guard the fairway here but one is located at the front of the green. Thick rough surrounds the green with a fall-off on the right-hand side.
No.18
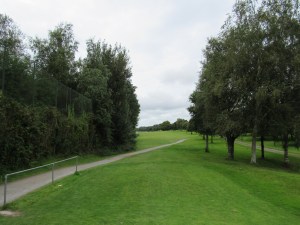
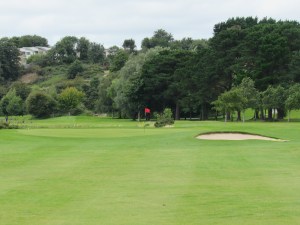
The final hole on the course is another short par 3. With a bunker greenside left and a sloped green leaning towards the bunker, the ideal shot is between the flag and bunker leaving you with an uphill putt. This is significantly better than ending up in the rough above the hole. It is nearly impossible to get up and down here as the green is fast at all times of the year. It is a short par 3 but do not underestimate the green here as it will punish you!
